Writing tutorials#
Setup#
First, setup your environment according to the Setup instructions.
Installing extra dependencies#
Now, activate your environment:
conda activate {env-name}
And run the following:
pip install jupyterlab jupytext
Start JupyterLab with:
jupyter lab
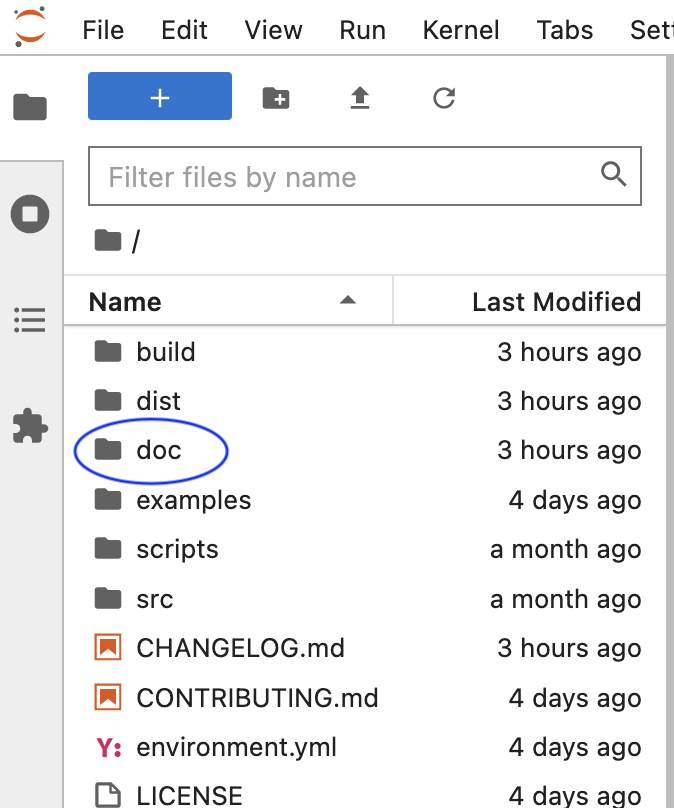
Once JupyterLab starts, you’ll see the file navigator on the left. Tutorials are always located in the doc/ directory:
To automatically reload your changes to the code in an existing notebook, run this before any import statements:
%load_ext autoreload
%autoreload 2
This way, you don’t have to restart the kernel with every change. Note that this approach has some quirks, you might need to restart the kernel in some situations.
Editing an existing notebook#
We store the notebooks in .md format; however, you can open them as notebooks:

Creating a new notebook#
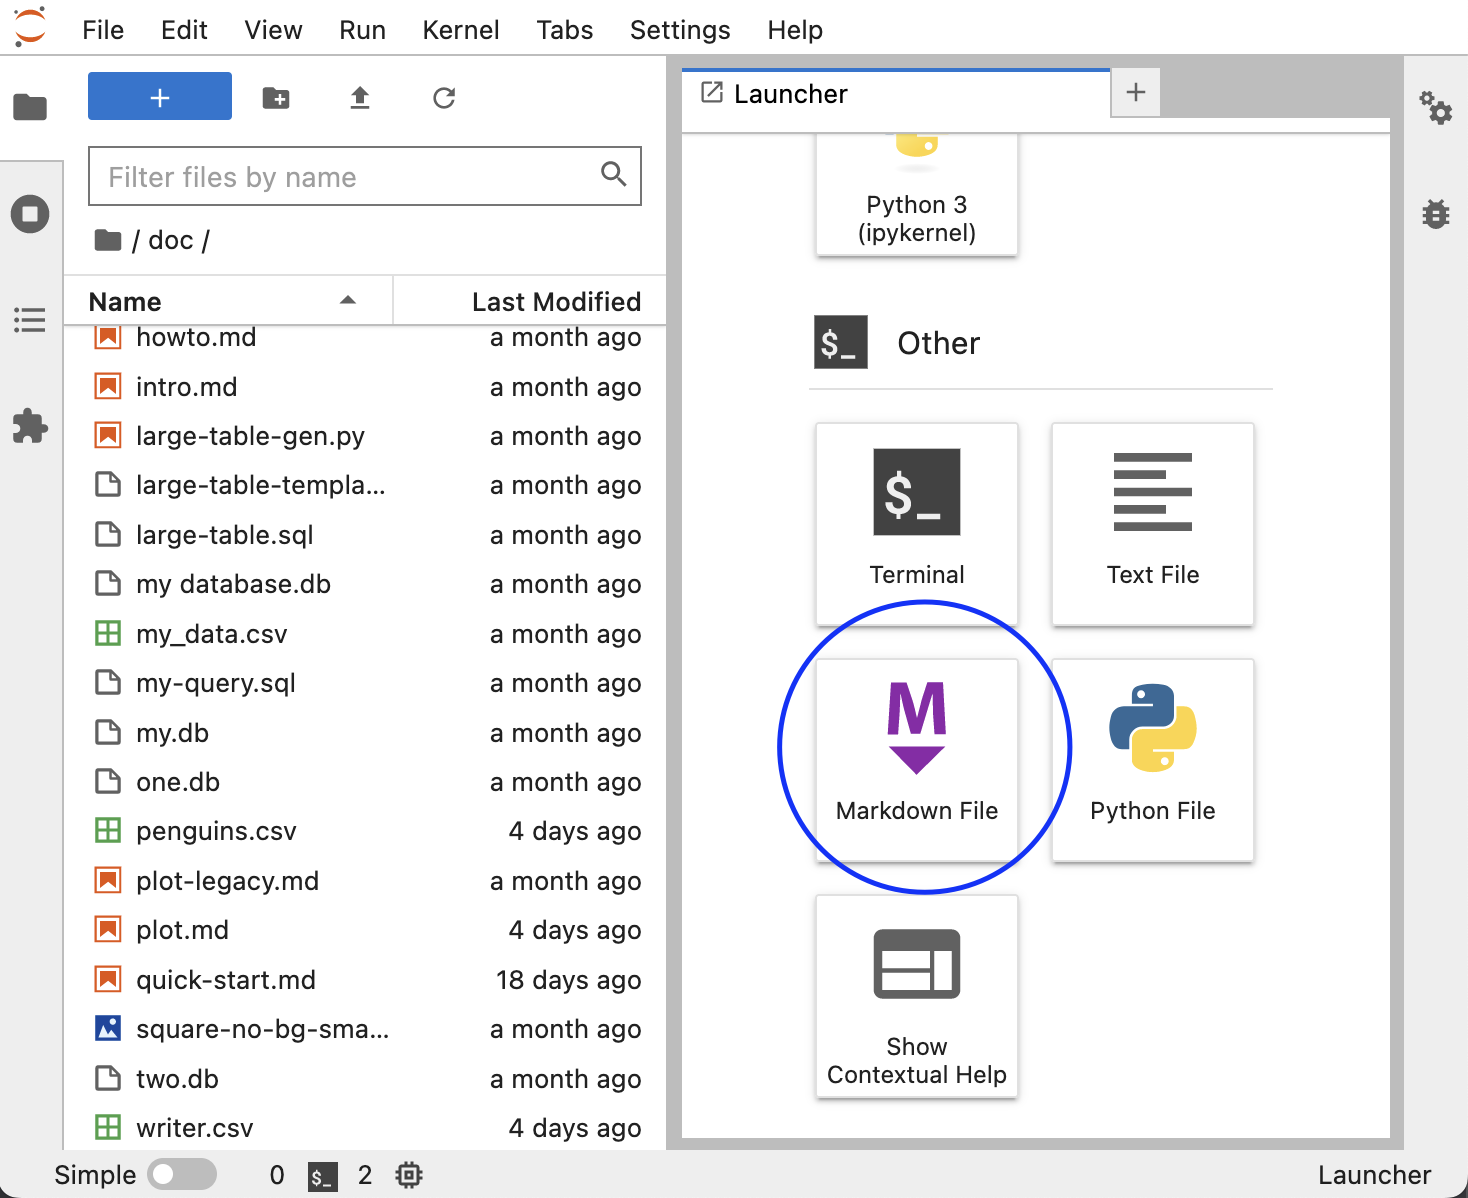
To create a new tutorial, create a new Markdown document:
Then double click on it and add this at the top (do not leave any empty lines):
---
jupytext:
  notebook_metadata_filter: myst
  text_representation:
    extension: .md
    format_name: myst
    format_version: 0.13
    jupytext_version: 1.14.4
kernelspec:
  display_name: Python 3 (ipykernel)
  language: python
  name: python3
---
Then, close the file and open it as a notebook as shown in the Editing an existing notebook section.
Important
Remember to add your notebook to doc/_toc.yml to ensure it’s included in the documentation.
Tip
Before writing a tutorial, go over the checklist.